Instead of throwing away scraps of fruits and vegetables in my kitchen, I use them as fertilizer for my container plants. Using kitchen waste as fertilizer for many years now has given me great results. I use this for my herbs, vegetables, and ornamental plants.
Here is a table of the list of nutrients you get from kitchen waste:
KITCHEN WASTE | PLANT NUTRIENT | Prep Time |
Carrots | Potassium | 20 mins |
Banana Peel | Potassium | 10 mins |
Eggshells | Calcium, Phosphorus | 45 mins |
Coffee Ground | Nitrogen | 5 mins |
Green Tea | Manganese, Zinc | 5 mins |
Fruits | Potassium | 30 mins |
Leafy Vegetables | Nitrogen, Growth hormones | 30 mins |
Garlic and Onion Peels | Potassium, Calcium, and Phosphorus | 5 mins |
Peas and Beans | Potassium, Magnesium | 20 mins |
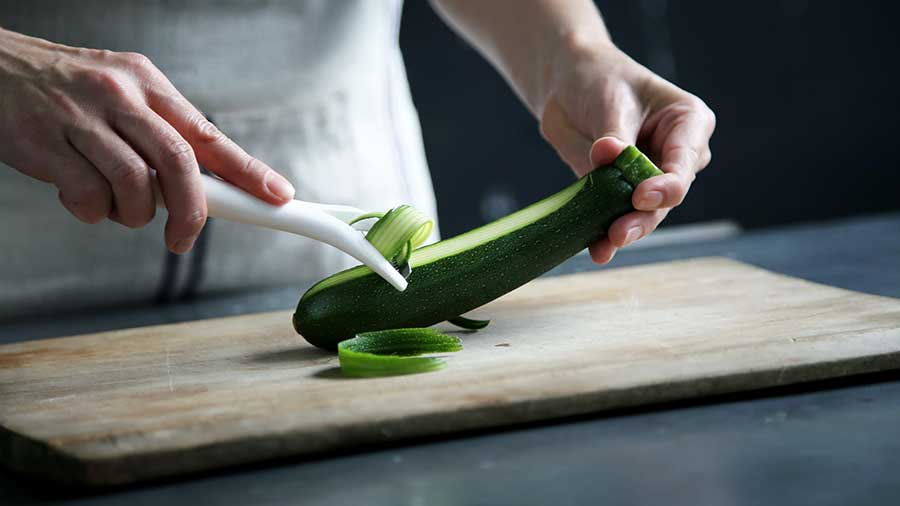
1. Carrots
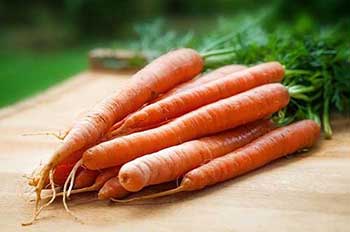
Carrots contain high levels of potassium and it has a wonderful effect on plants. Potassium is what your plants need during their flowering and fruiting stage. It increases the number of flowers the plant can produce. When I want more tomatoes or peppers, I just pour this mixture into my pots.
Preparation
To make a carrot fertilizer, cut the carrots into tiny pieces, about half an inch thick. You may also include carrot peelings. For a finer texture, you may also process the carrots using a blender. Put the sliced carrots in a plastic or glass container and add 1 liter of water. Mix it thoroughly. For me, I like to use those 1 –liter water bottles so I could just shake it. Cover this mixture and let it sit for 24 hours in a cool, dry place, away from sunlight.
Use it directly to water the plants. It’s not a complete fertilizer but, hey, it’s better than plain water. This is good for small container plants. You refill the water and use it four more times. After which, you can just pour the carrots into the soil or in a compost.
Apply once or twice a week.
2. Banana peel
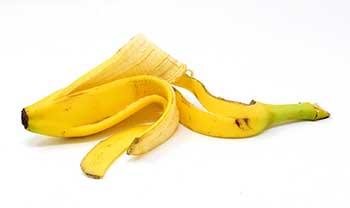
Banana peel is another rich source of Potassium. It strengthens the stems and protects the plant from diseases. This will result in more flowering and good fruit quality. Banana peel is also rich in Phosphorus. Phosphorus improves root quality to ensure that plants can really absorb all the nutrients in the soil.
Banana peel also contains micronutrients such as Calcium, Manganese, and Magnesium. These contribute to the development of Chlorophyll which enhances the quality of the leaves. What I usually do with banana peel is to make banana peel tea.
Preparation
Slice the banana peel into small pieces. Prepare a container capable of holding a liter of water. Do not use aluminum or tin container. For every 1 liter of water, put 1 cup of chopped banana peel. Cover, and let it sit overnight.
When ready, remove all banana peels. You can use a strainer for this. Empty the liquid in a sprayer. Spray this liquid fertilizer on any kind of plant. You may also use it to water the plants directly. The soaked banana peels can then be buried in the soil or inside the pot.
Apply once or twice a week.
3. Eggshells
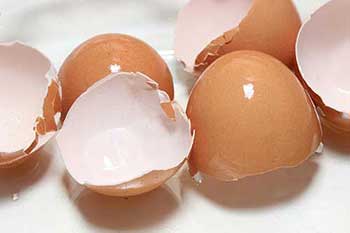
Pale leaves and stunted growth? This is a sure sign of calcium-deficiency in plants. Another symptom is when the new growth at the leaf tips and margins begins to wither and die, and the new leaves are often deformed. To prevent this, I use a calcium-rich liquid fertilizer using eggshells.
Most people I know apply the eggshells by crushing them and scattering them around the plant. This is simply not effective because the calcium in the eggshells needs to be broken down first before it can be absorbed by the plant. And it could take a really long time for the eggshells to be decomposed.
Instead, we will have to extract the calcium to achieve an immediate effect. To extract, we simply add vinegar. Aside from calcium, eggshells also contain phosphorus.
Preparation
First, we need to crush the eggshells. You can do this easily using a mortar and pestle. Next, we will heat it in a pan (use low heat). Don’t add oil. Stir constantly until the color becomes brownish. Afterward, set it aside.


After it has cooled, put the eggshells in a plastic container. I’m using one of those 1 gallon water containers. Pour in the vinegar, expect a little bubbling reaction. The proper ratio is for every 1 part eggshells, you need to add 9 parts water. For example, if you have 100 grams of eggshells, you need to add 900 ml of vinegar.
After pouring in the vinegar, do not cover the mixture yet to let the gases escape. Once the reaction has stopped, cover the container and let it sit for 20 days, in a cool, dry place, away from direct sunlight.
To apply this liquid fertilizer, dilute 10 ml of the fertilizer in a liter of water, or about 2 tablespoons per liter of water. Spray directly to the leaves or use it to water the plants. You can use this fertilizer for up to six months.
Apply once or twice a week.
4. Coffee ground
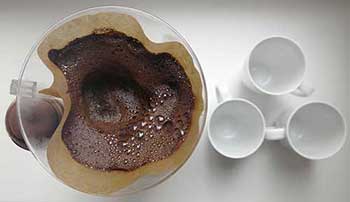
For coffee drinkers, you can use the coffee ground from used brewed coffee. It has nitrogen, phosphorus, potassium, and important micronutrients.
Preparation
You can simply use it as a top dressing by scattering it on top of the soil. When watered, the nutrients will be absorbed by the soil.
Don’t use instant coffee because it contains sugar which attracts ants and insects. You can also ask for it in your favorite coffee shop.
Apply once a month.
5. Green tea
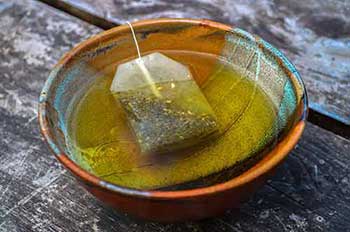
Green tea has many micronutrients beneficial to plants such as Manganese and Zinc. Manganese contributes significantly to plants by keeping the leaves greener and preventing diseases in the roots. Zinc also prevents the discoloration of leaves and helps in the development of chlorophyll.
Preparation
To use, remove the used tea from its bag. Mix in 1 liter of water and let it sit for 1 hour. Pour in the sprayer and spray on all parts of the plant. It can also be placed directly into the soil. It helps protect the roots against bad bacteria.
Apply once a week only. Some teas may have caffeine and it can increase the acidity level of the soil.
6. Fruits
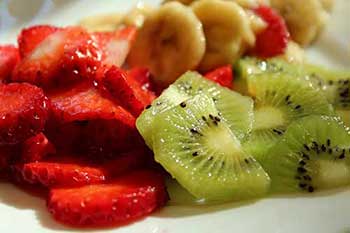
Leftover fruits can be made into a potent fertilizer. I like to process the fruits through fermentation, instead of just mixing it with the soil. In this way, the nutrients are immediately absorbed by the plants. I use this for my fruiting vegetables such as tomatoes, chili, pepper, and ornamental plants such as asters, petunias, and zinnias.
A fermented fruit juice, as it is called, is rich in potassium. It induces the plants to produce flowers and fruits. To make it, you may use any leftover fruits. I have tried using bananas, apples, cucumbers, papayas, and grapes with great success. Or you can even combine all fruits.
Preparation
The general procedure is to slice the fruits into small pieces so that it could easily be broken down. Next, you need to add molasses. If you don’t have molasses lying around in your kitchen, a good alternative would be brown sugar. The ratio between the fruits and molasses is 1:1. For example, if you have 200 grams of fruits, then use 200 grams of molasses.
Put the sugar in the container with our sliced fruits. Mix it thoroughly. After mixing, cover the container tightly. Let the mixture sit for a week. However, for the best result, I let it sit for a month. Store it in a dry, shaded area, away from direct sunlight. You’ll know it’s ready when it gives out a pleasant aroma when you open the lid. If it has a pungent smell, then it is probably contaminated and it is no longer safe to use.
To use, remove the remaining solid particles by straining. Dilute 5 ml of the fruit juice into 100 ml of water. Or about 1 teaspoon for every 100 ml of water. Shake well before spraying it to your plants.
Apply once or twice a week. This mixture could last for up to a month.
7. Leafy vegetables
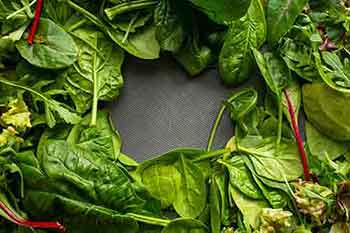
You may also use leafy vegetables if you don’t have fruits. It is called fermented plant juice. They are rich in nitrogen and growth hormones. I like to use spinach for this type of fertilizer because it is very rich in nitrogen and potassium, although you can use any green leafy vegetables. In fact, one cup of frozen spinach (156 grams) contains 540 mg of potassium.
Preparation
First, chop all vegetables into tiny pieces. Crush it using mortar and pestle to extract the juice. Once you see the juices oozing out of the leaves, it is now ready. Put the leaves in a container.
Next, you need to add molasses or its alternative, brown sugar. The ratio is 1:1. Mix thoroughly. Cover and let it sit for a minimum of 1 week. For best results, I let it sit for a month. Store it in a cool, dry area away from sunlight.
To use, remove the remaining solid particles by straining. Dilute 5 ml of the fruit juice into 100 ml of water. Or about 1 teaspoon for every 100 ml of water. Shake well before spraying it to your plants.
Apply once or twice a week. This mixture could last for up to a month
8. Garlic and Onion Peel
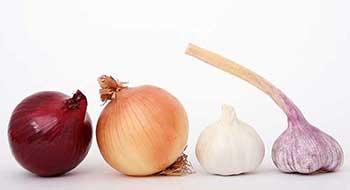
Garlic and onion peels are natural fertilizers and insecticide for plants. It contains potassium, calcium, and phosphorus. It is beneficial to all plants in that it strengthens the stem and its root system. It also prevents discoloration of the leaves.
Preparation
Don’t throw away your onion and garlic peelings. Put them in a container. Add water. What I do is for every 1 liter of water, I used about 2 bulbs of onion and 2 cloves of garlic peelings. Mix thoroughly. Let it sit for 24 hours. Store in a cool dry area, away from sunlight.
After 24 hours, the water becomes brownish in color. Some bubbles may appear. This is normal. To use, remove all solid particles by straining. You can use it directly to water the plants. Or you can use it to spray directly to leaves and flowers. This fertilizer can be used during the seedling, vegetative, and flowering and fruiting stage of the plant.
Apply once a week.
9. Peas and Beans
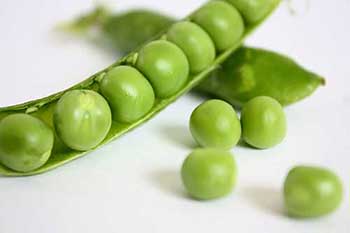
Green beans, black beans, green peas, and other legumes are rich in Potassium and Magnesium. Do not throw them away. They promote fast growth and increase resistance to plant diseases.
Preparation
Put in a blender. Add 2 cups of water. Blend until smooth. Place the mixture in a container. For every 16 liters of water, add 5 -8 tablespoons of the bean mixture. Use the mixture to water the plants. Use it immediately because it can spoil easily. You can also use it as a spray. Just filter out the solid particles.
Apply once or twice a week.
Final Thoughts
The recipes and procedures I wrote are things that I have tried myself. There may be some other recipes you may know of. I just wanted to share how I turn my kitchen waste into very effective fertilizers for my container plants. These are all quite easy to prepare since the materials and ingredients can already be found in your homes.